How I Bake Sourdough at Home (And What I’ve Learned So Far)
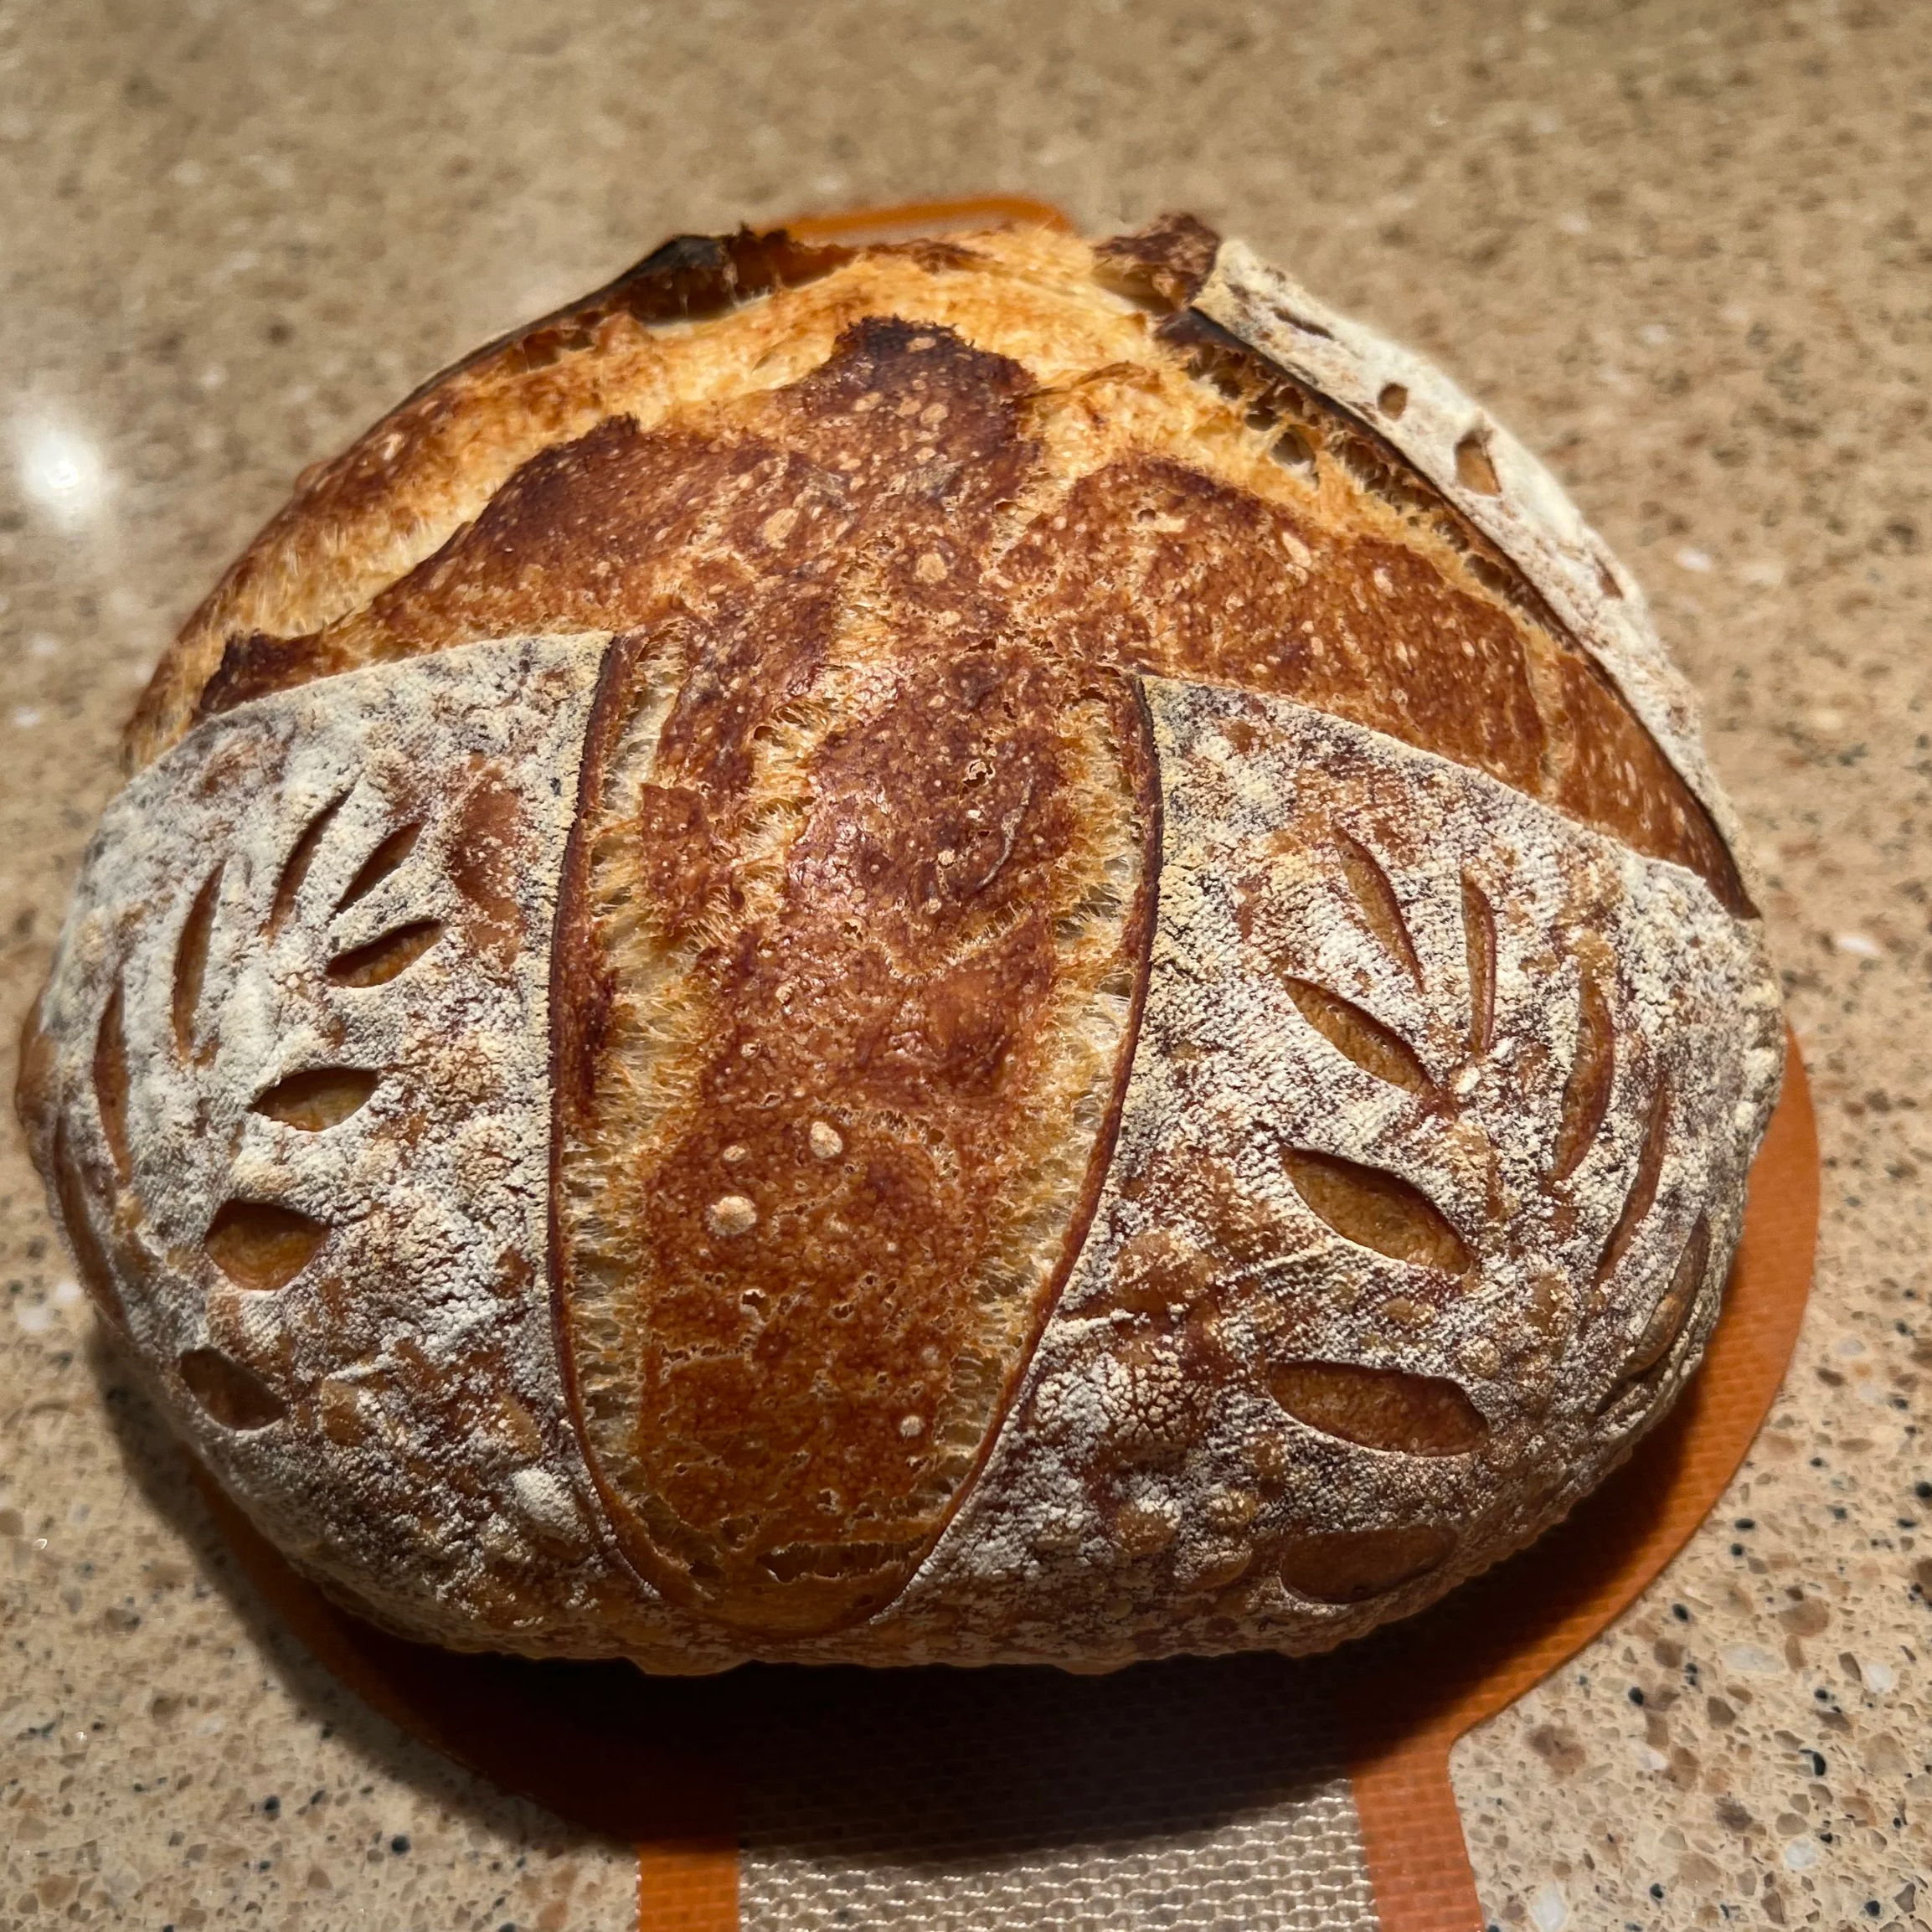
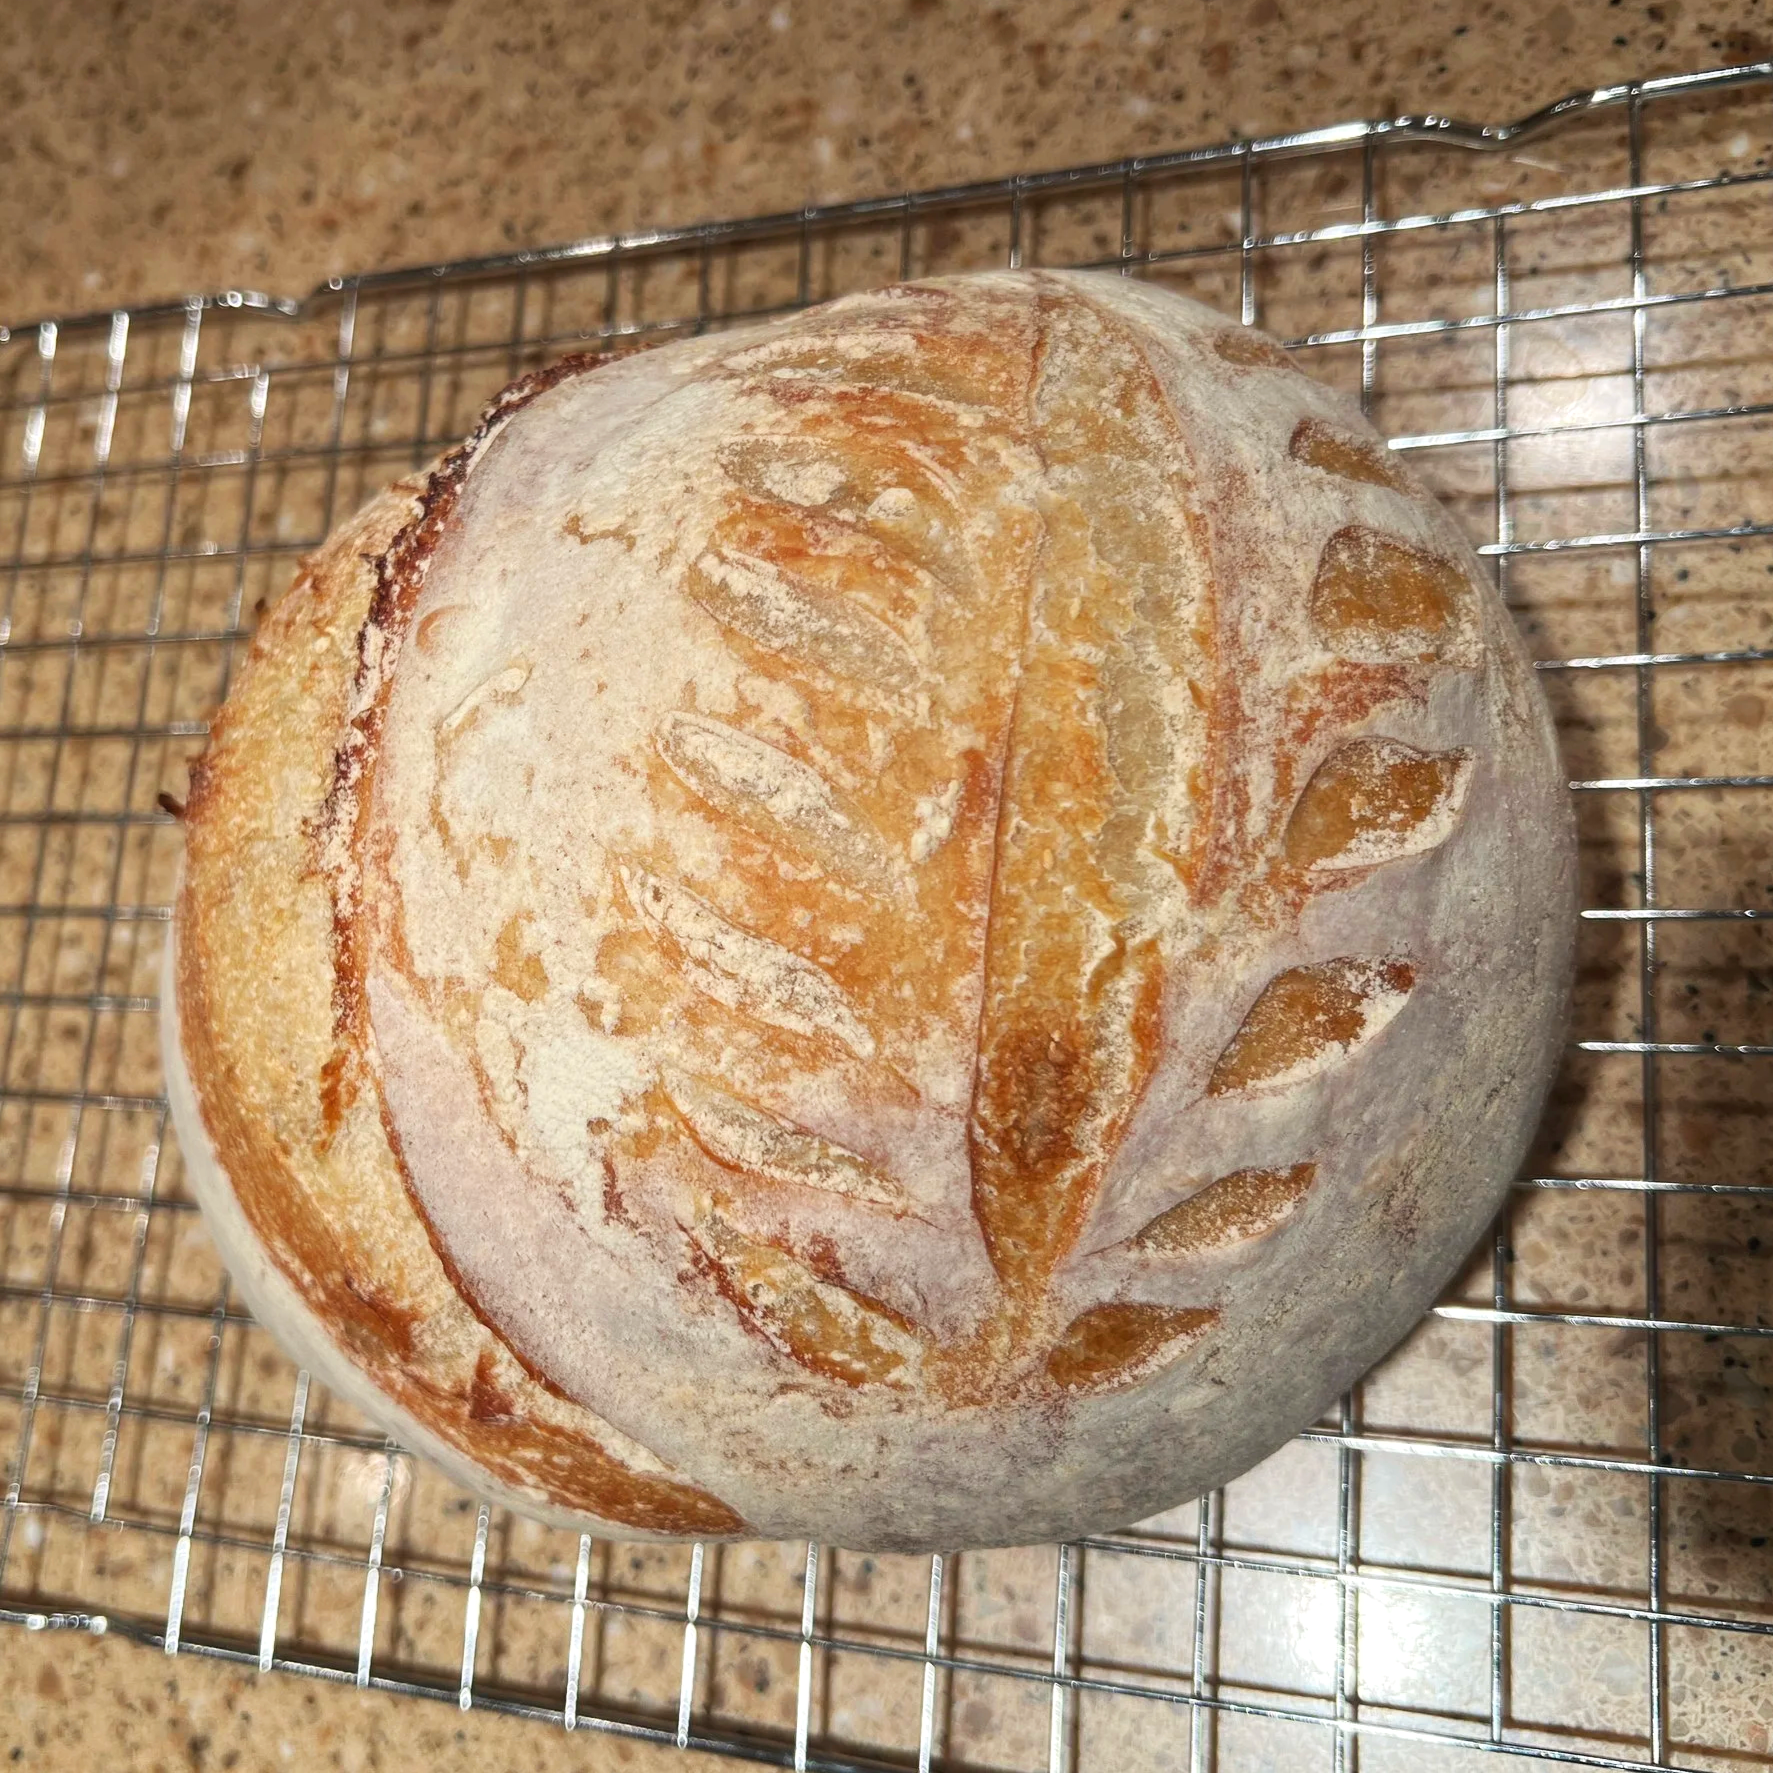
One of my recent sourdough loaves, baked in a Dutch oven and scored just for fun.
Merry Christmas, and happy early New Years!
Sorry I haven’t been posting much recently. The holidays always get a little bit chaotic, but I can assure you - I have been doing a ton of cooking and baking!
My newest passion project… I’ve gone down the sourdough rabbit hole. I’m obsessed!
It all started because my friend Ed gave me some sourdough starter. He’s a really talented baker and we’re always talking bread tips and techniques. He’d been trying to get me into sourdough for a while, and after having Thanksgiving dinner together, I finally said alright, fine, give me some starter.
I’m not gonna lie, the concept of sourdough was super intimidating at first. Feeding schedules, ratios, storage… and then actually baking with it? It felt like a lot, and I had no idea what I was doing.
But here I am about a month later, roughly twelve sourdough loaves and one sourdough focaccia in, and I finally get it.
Once it started to click, sourdough became way less scary and way more fun. I started with basic loaves, then slowly worked up the confidence to try mix-ins. Right now I’ve got blueberry lemon and rosemary sourdoughs in the works, plus honey and honey cinnamon loaves that have quickly become favorites.
I figured it was time to sit down and write out the process I’ve been using and what I’ve learned so far. This is the method I keep coming back to — flexible, reliable, and easy to adapt whether you’re keeping it plain or playing around with flavors.
If sourdough has felt intimidating to you too, this is exactly where I’d start.

The fiend that has taken over every aspect of my kitchen life. Meet Boo, the sourdough starter. Direct descendant of Pascal, son of Ed.
The Base Dough I Always Come Back To
This formula has become my default. It’s easy to remember, scales well, and just works.
500 g bread flour
385 g water
100 g active sourdough starter
9 g salt
If you like thinking in baker’s percentages, this dough sits at roughly:
77% hydration
20% starter
1.8% salt
You don’t need to think in percentages to make good bread, but once I wrapped my head around them, things started making a lot more sense. It’s especially helpful when you want to scale the dough up or down or compare recipes without starting from scratch.
From here, everything else is just timing and feel.
Autolyse
Autolyse is just a fancy word for mixing flour and water and letting it rest before adding anything else.
I start by mixing the bread flour and water until no dry flour remains. Nothing fancy here. I cover the bowl and let it rest for about 30 minutes.
We do this because it gives the flour time to fully hydrate and lets gluten start forming on its own. When the dough has time to relax like this, it ends up smoother, stronger, and easier to handle later. You don’t have to knead as much, and the dough stretches more easily during folds.
Think of it as giving the dough a head start. A little patience upfront makes the rest of the process easier and more forgiving.
Mixing the Dough
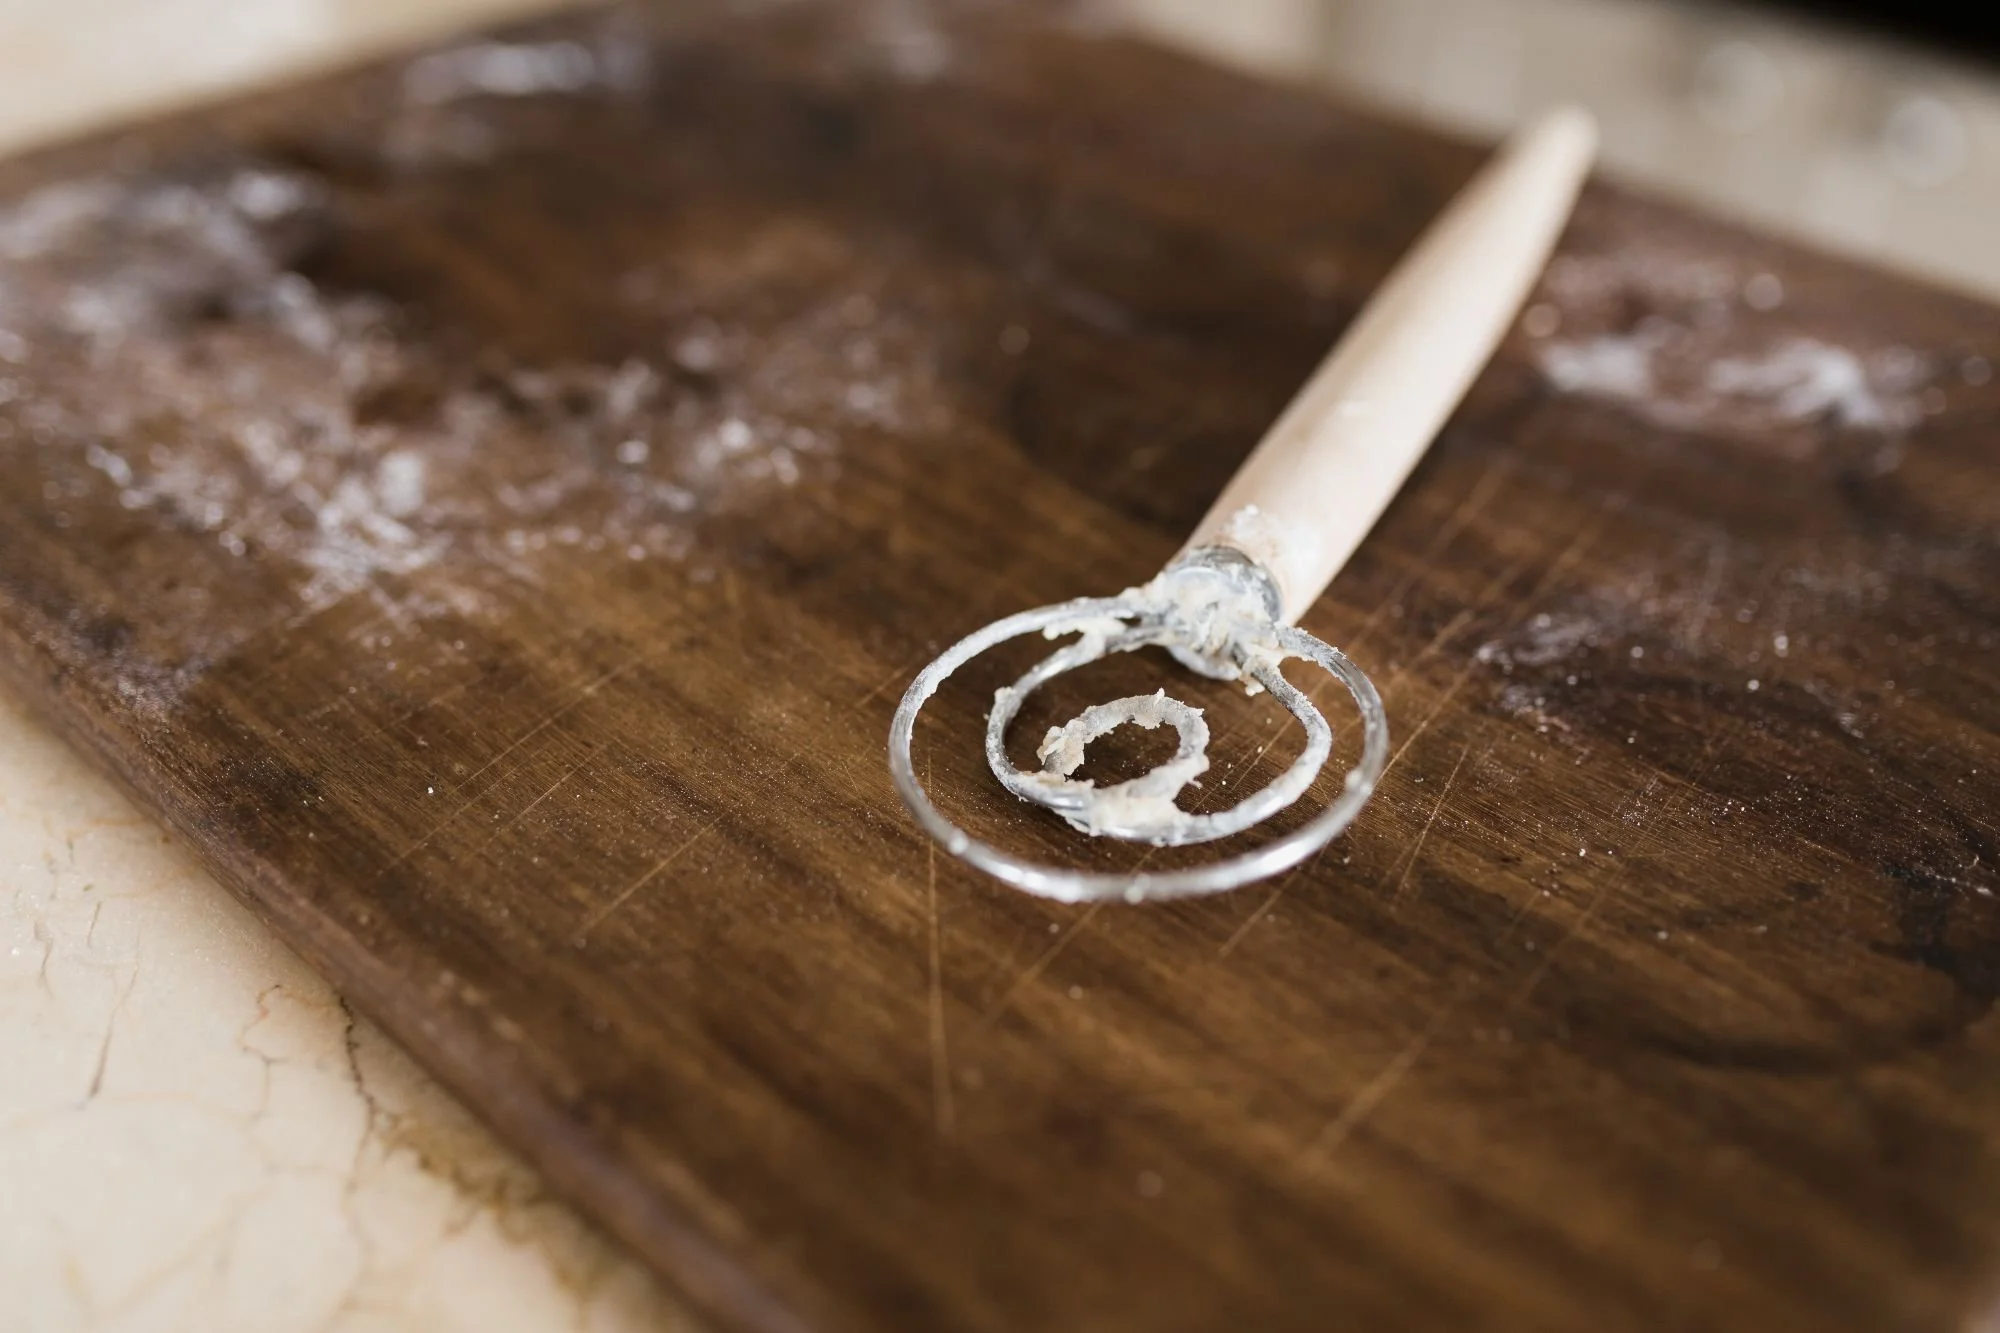
A Danish whisk makes mixing sourdough quick and easy without overworking the dough.
After the autolyse, I add the starter and salt.
I mix everything together using a Danish whisk. It’s one of those tools that just makes life easier. The dough comes together quickly without feeling overworked.
You’ll see some bakers talk about reserving a bit of water and dissolving the salt in it before adding it to the dough. That’s totally valid, but it’s not something I personally do. I’ve had great results just mixing in the starter first, then working the salt in directly.
Once everything is fully mixed, I cover the bowl and let the dough rest for about 20 minutes before starting any folds.
Stretch and Folds
I do four sets of stretch and folds, spaced 30 minutes apart.
Each set is simple:
Stretch one side of the dough up
Fold it over itself
Rotate the bowl and repeat until all sides are folded
This is how I build strength in the dough without kneading.
If I’m adding mix-ins, I do that during stretch and fold #2. I gently layer them into the dough rather than aggressively kneading. This keeps the dough strong while still distributing the additions evenly.
With each set of stretch and folds, the dough should feel a little smoother and a little stronger.
About Mix-Ins
For this recipe, which uses 500 g of flour, I try to keep total mix-ins under about 100–125 g. Going beyond that can weigh the dough down, tear gluten strands, and make shaping and oven spring harder.
As a starting point for one loaf:
Honey: 20–40 g
Fresh rosemary: 1–2 tablespoons, finely chopped
Dried blueberries: 75–100 g
Lemon zest: Zest of 1 lemon
When in doubt, start lighter than you think. You can always add more next time once you see how the dough behaves.
Some of my go-to mix-ins:
Fresh rosemary
Honey*
Honey and cinnamon*
Dried blueberries with lemon zest
*A quick note on honey: adding honey will usually speed up fermentation a bit, since it gives the yeast extra food. It’s not a bad thing — just something to keep in mind. When I use honey, I pay closer attention during bulk so I don’t overproof.
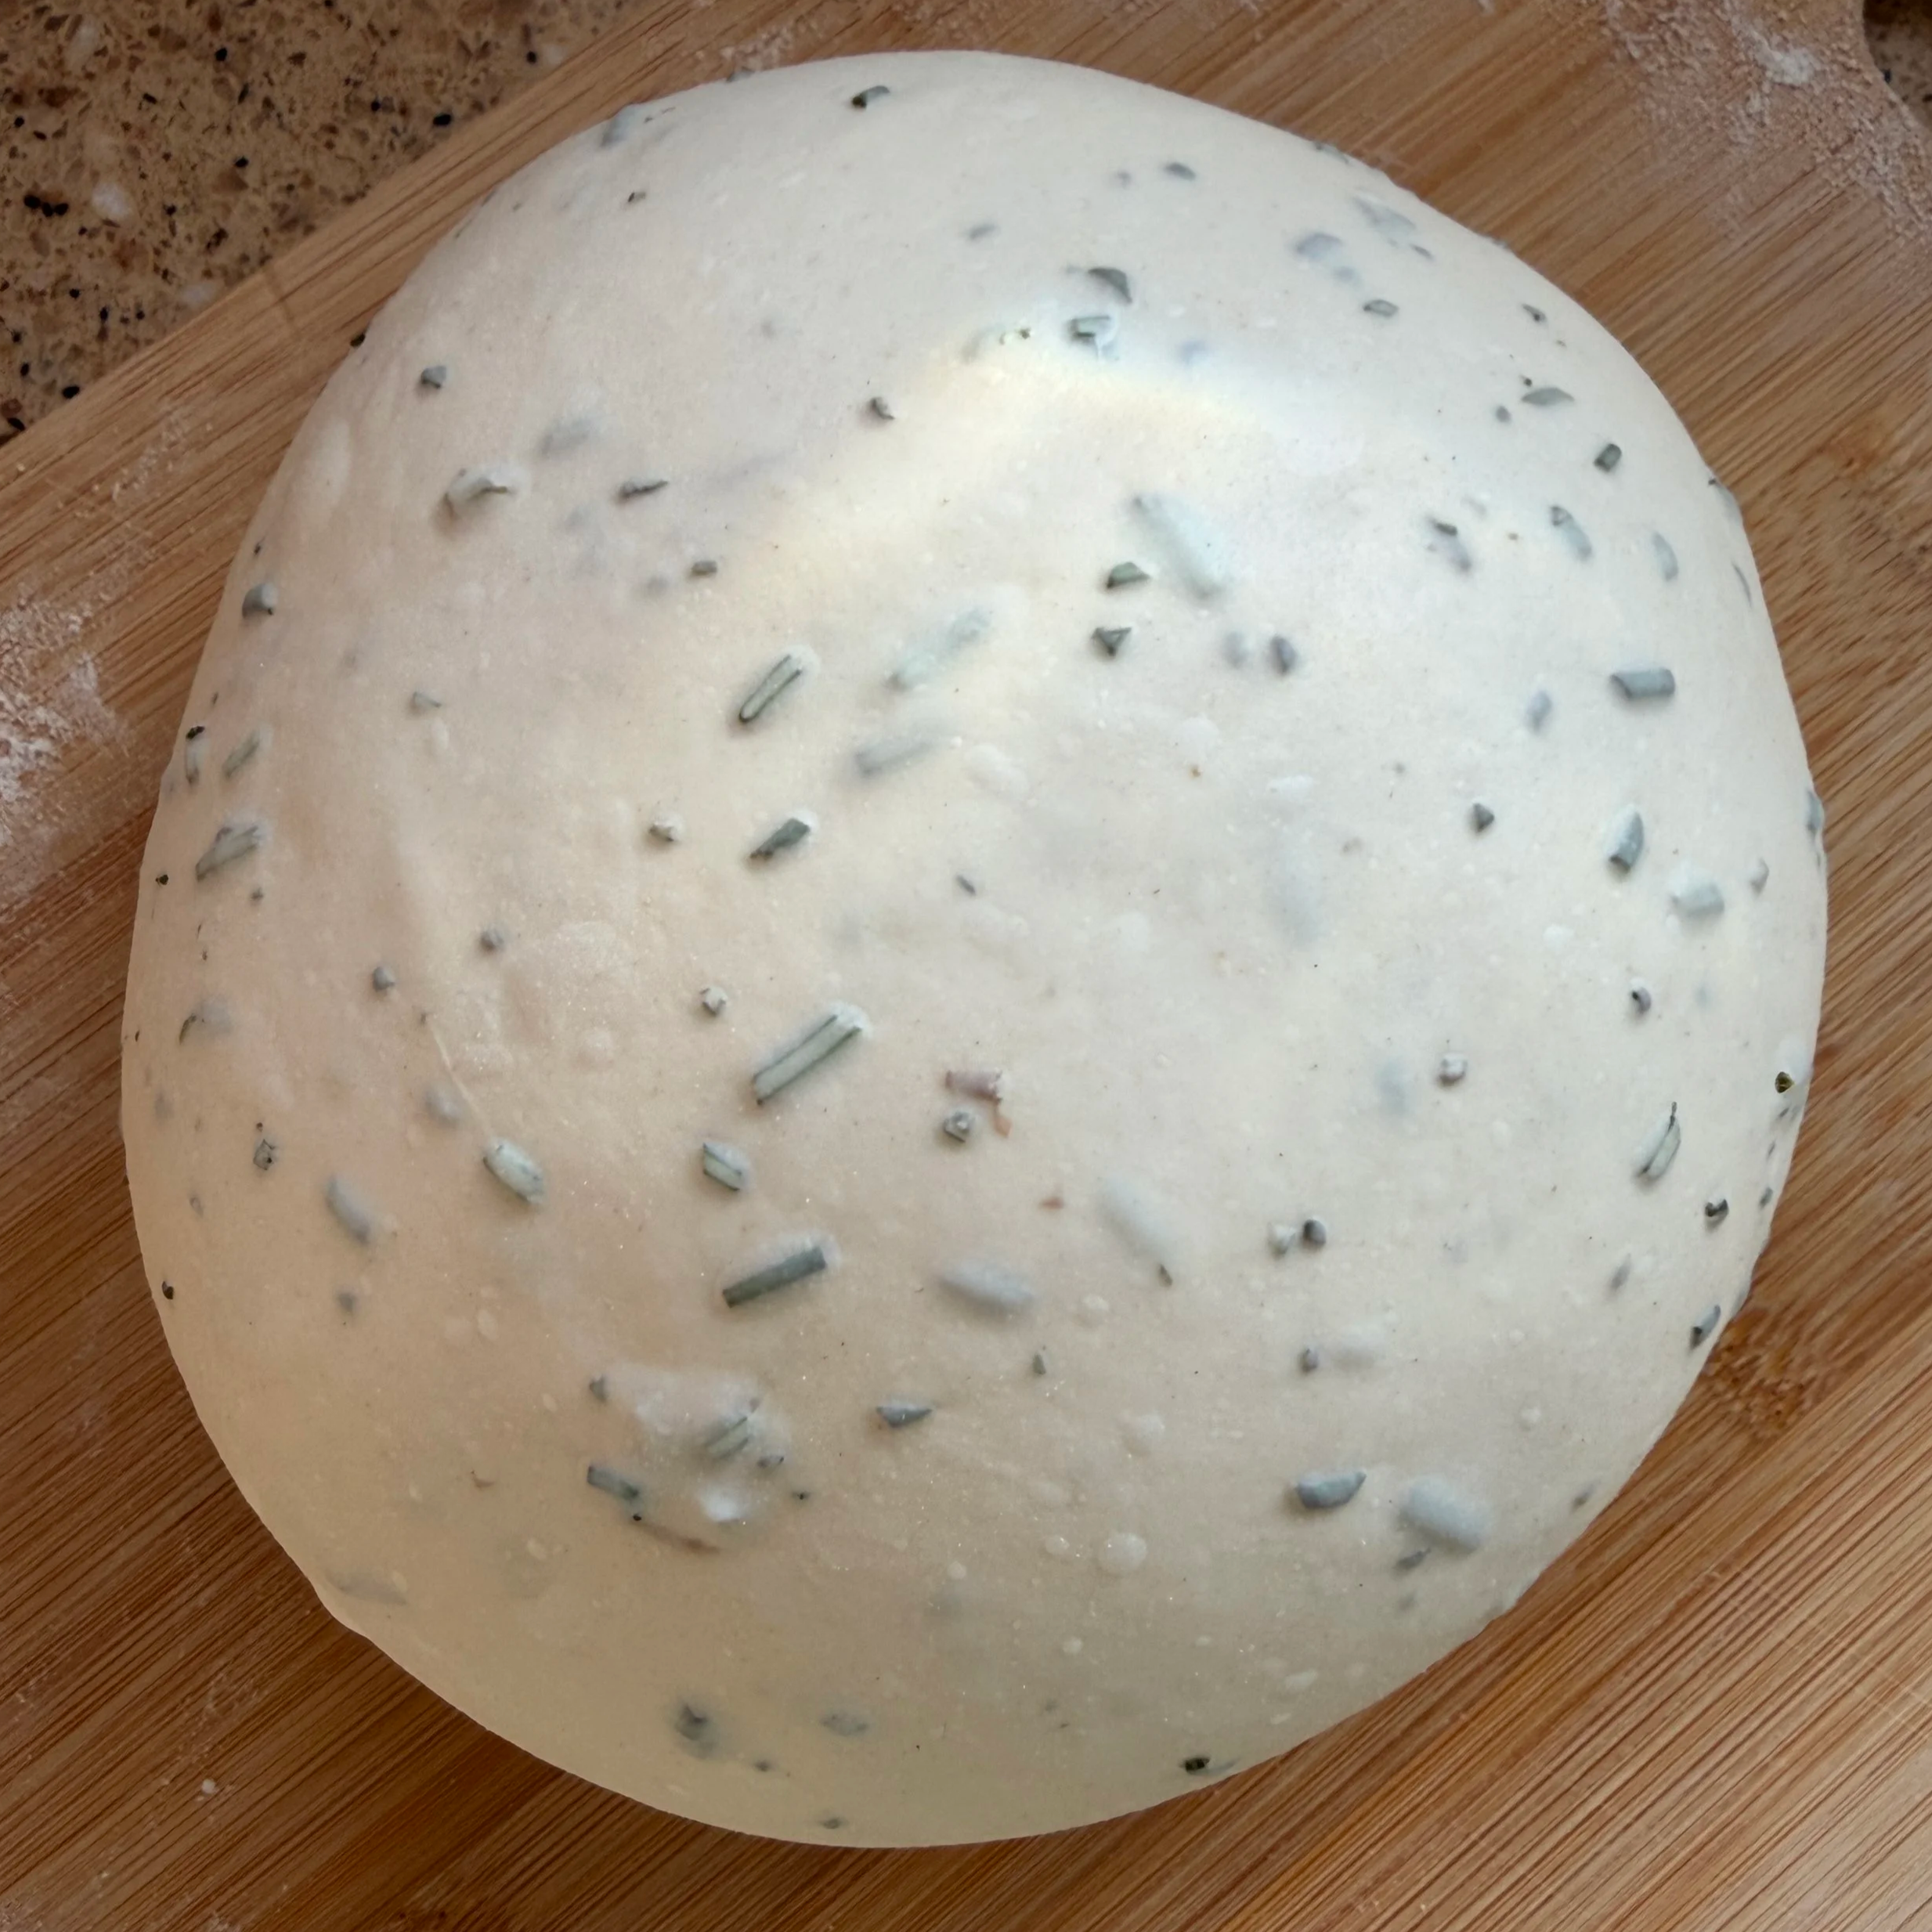
My first ever sourdough with mix-ins - a rosemary loaf!
Bulk Fermentation
After the final fold, the dough goes into bulk fermentation.
Depending on my schedule, I’ll either:
Let it ferment 4–5 hours at room temperature, or
Place it in the fridge overnight for a slower, colder bulk
I’m looking for dough that feels lighter, smoother, and slightly domed, with bubbles forming along the sides of the bowl. Times are just guidelines here… I always go by how the dough looks and feels.
Dividing and Preshaping
Once bulk is complete, I turn the dough out onto a lightly floured surface.
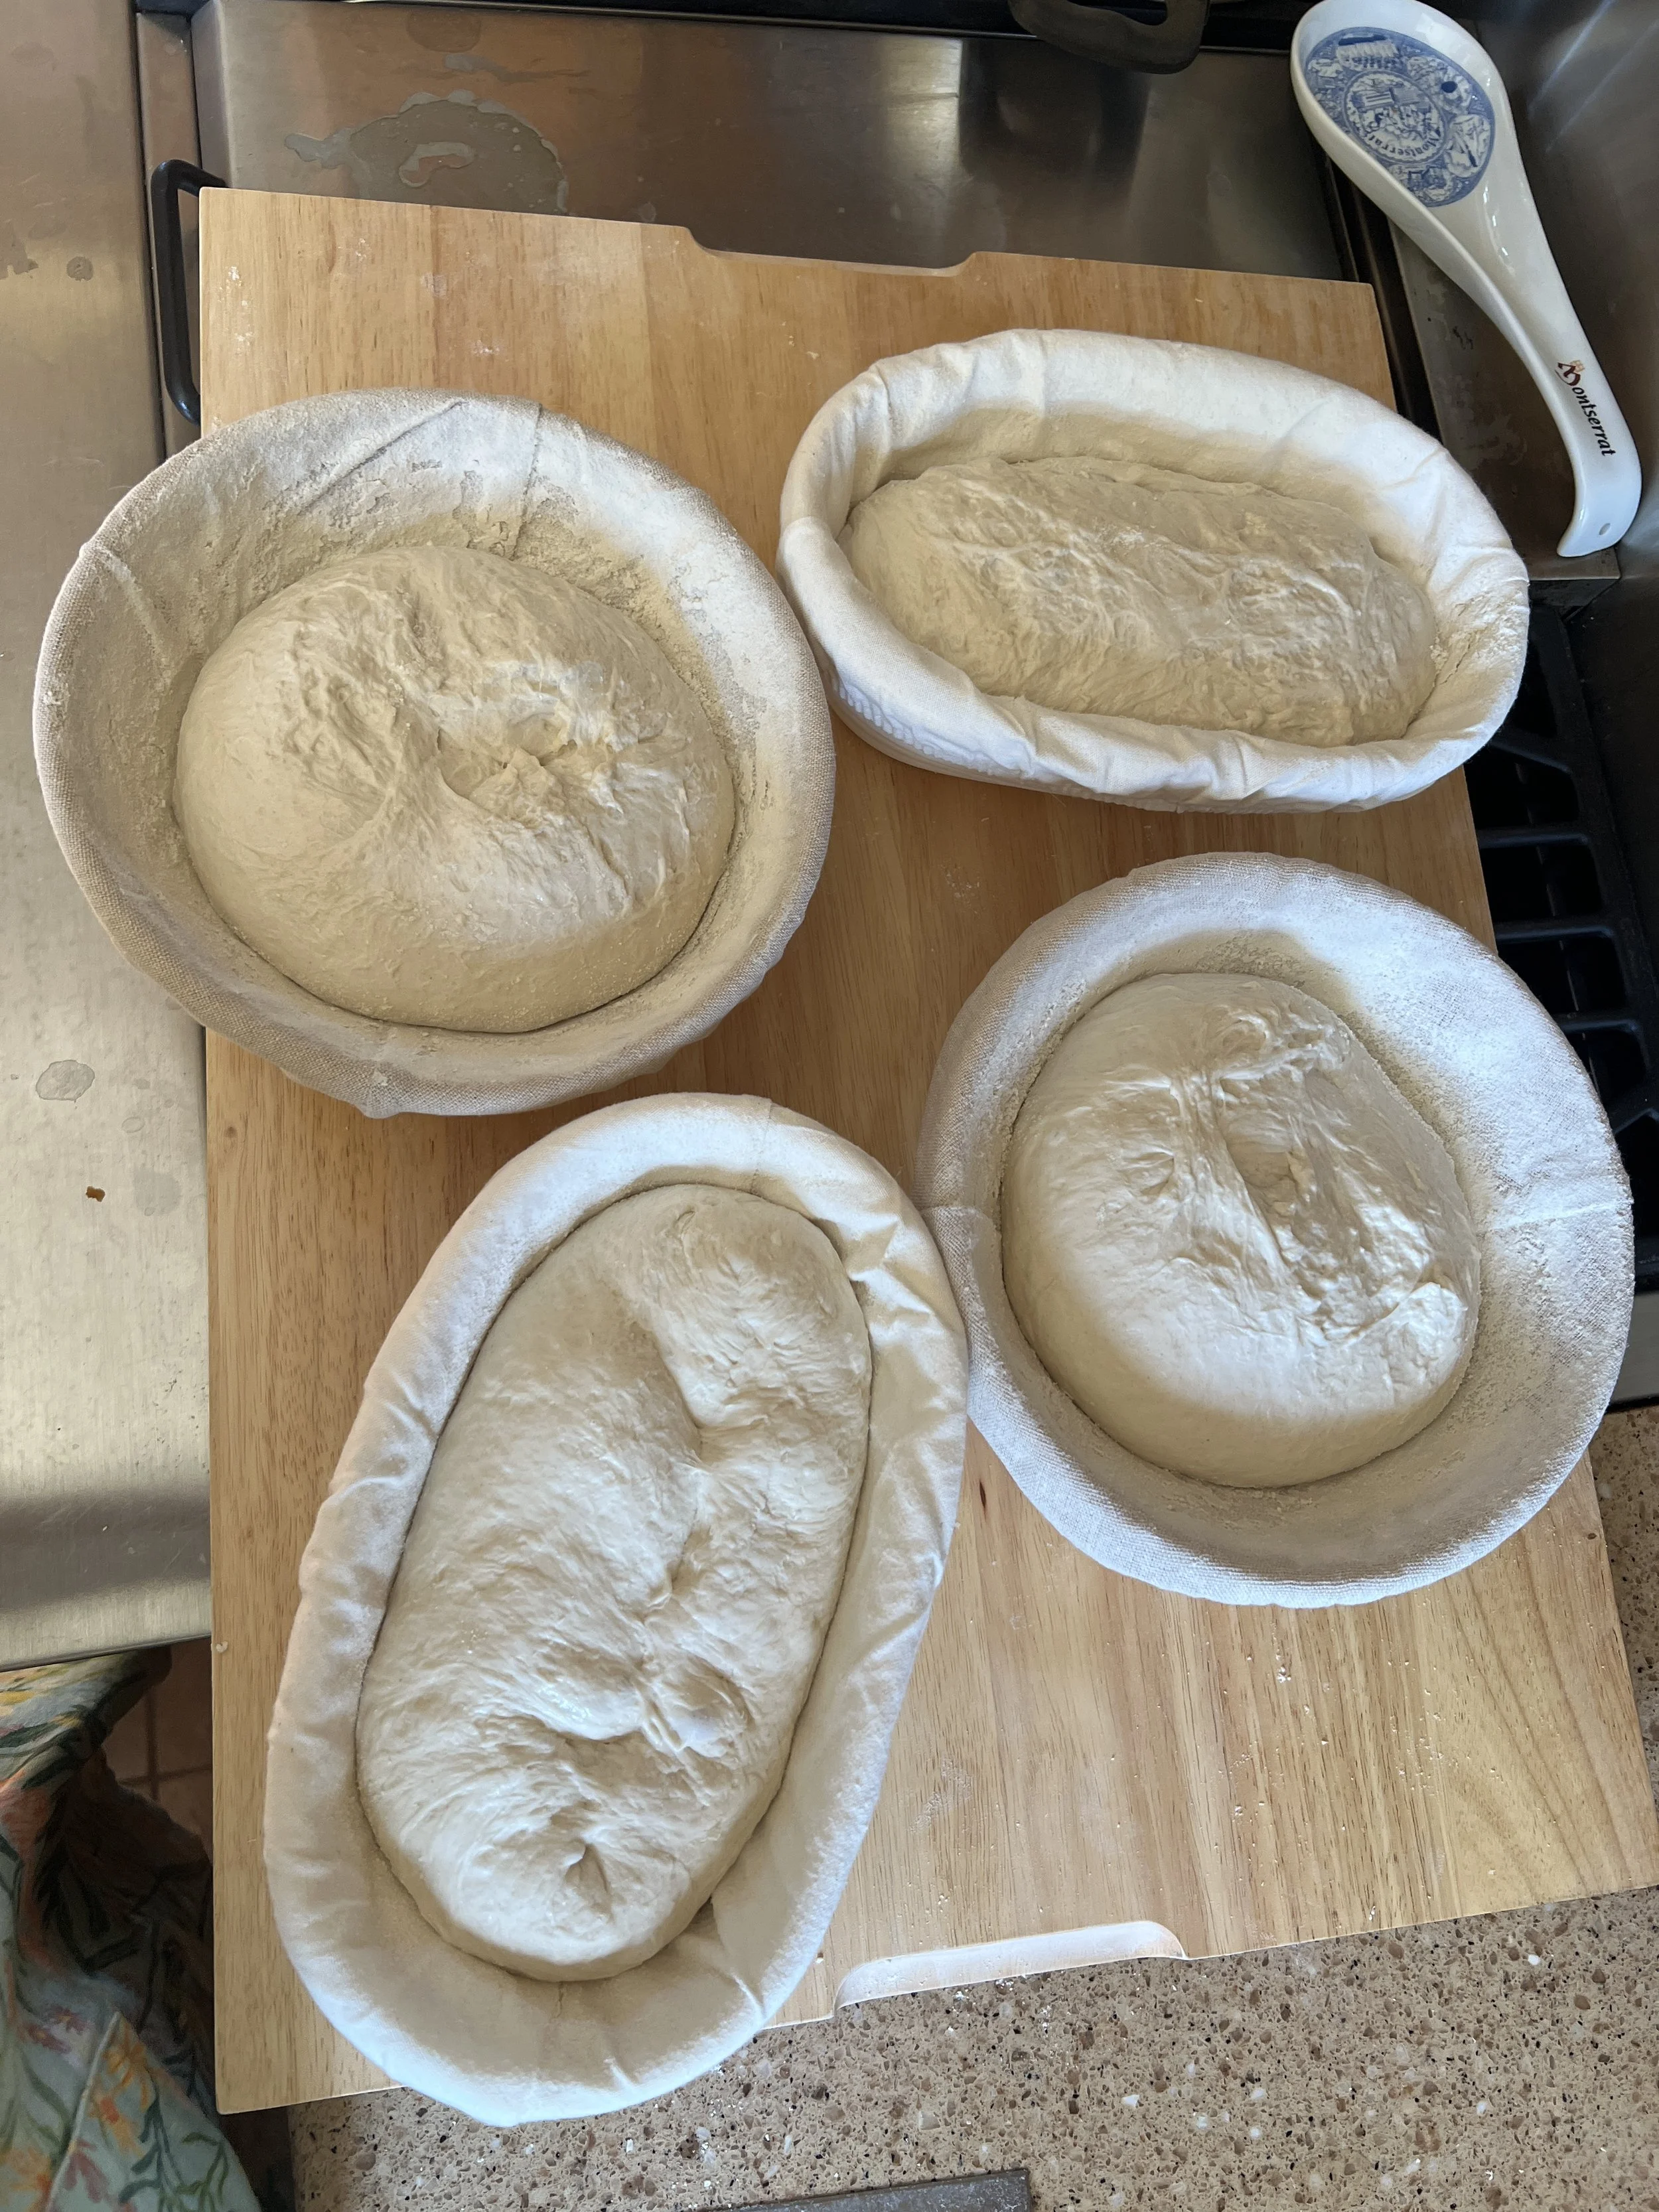
If I’m making more than one loaf, I divide it now. Each piece gets gently preshaped into a round, then rested uncovered for 20 minutes. This helps relax the dough before final shaping.
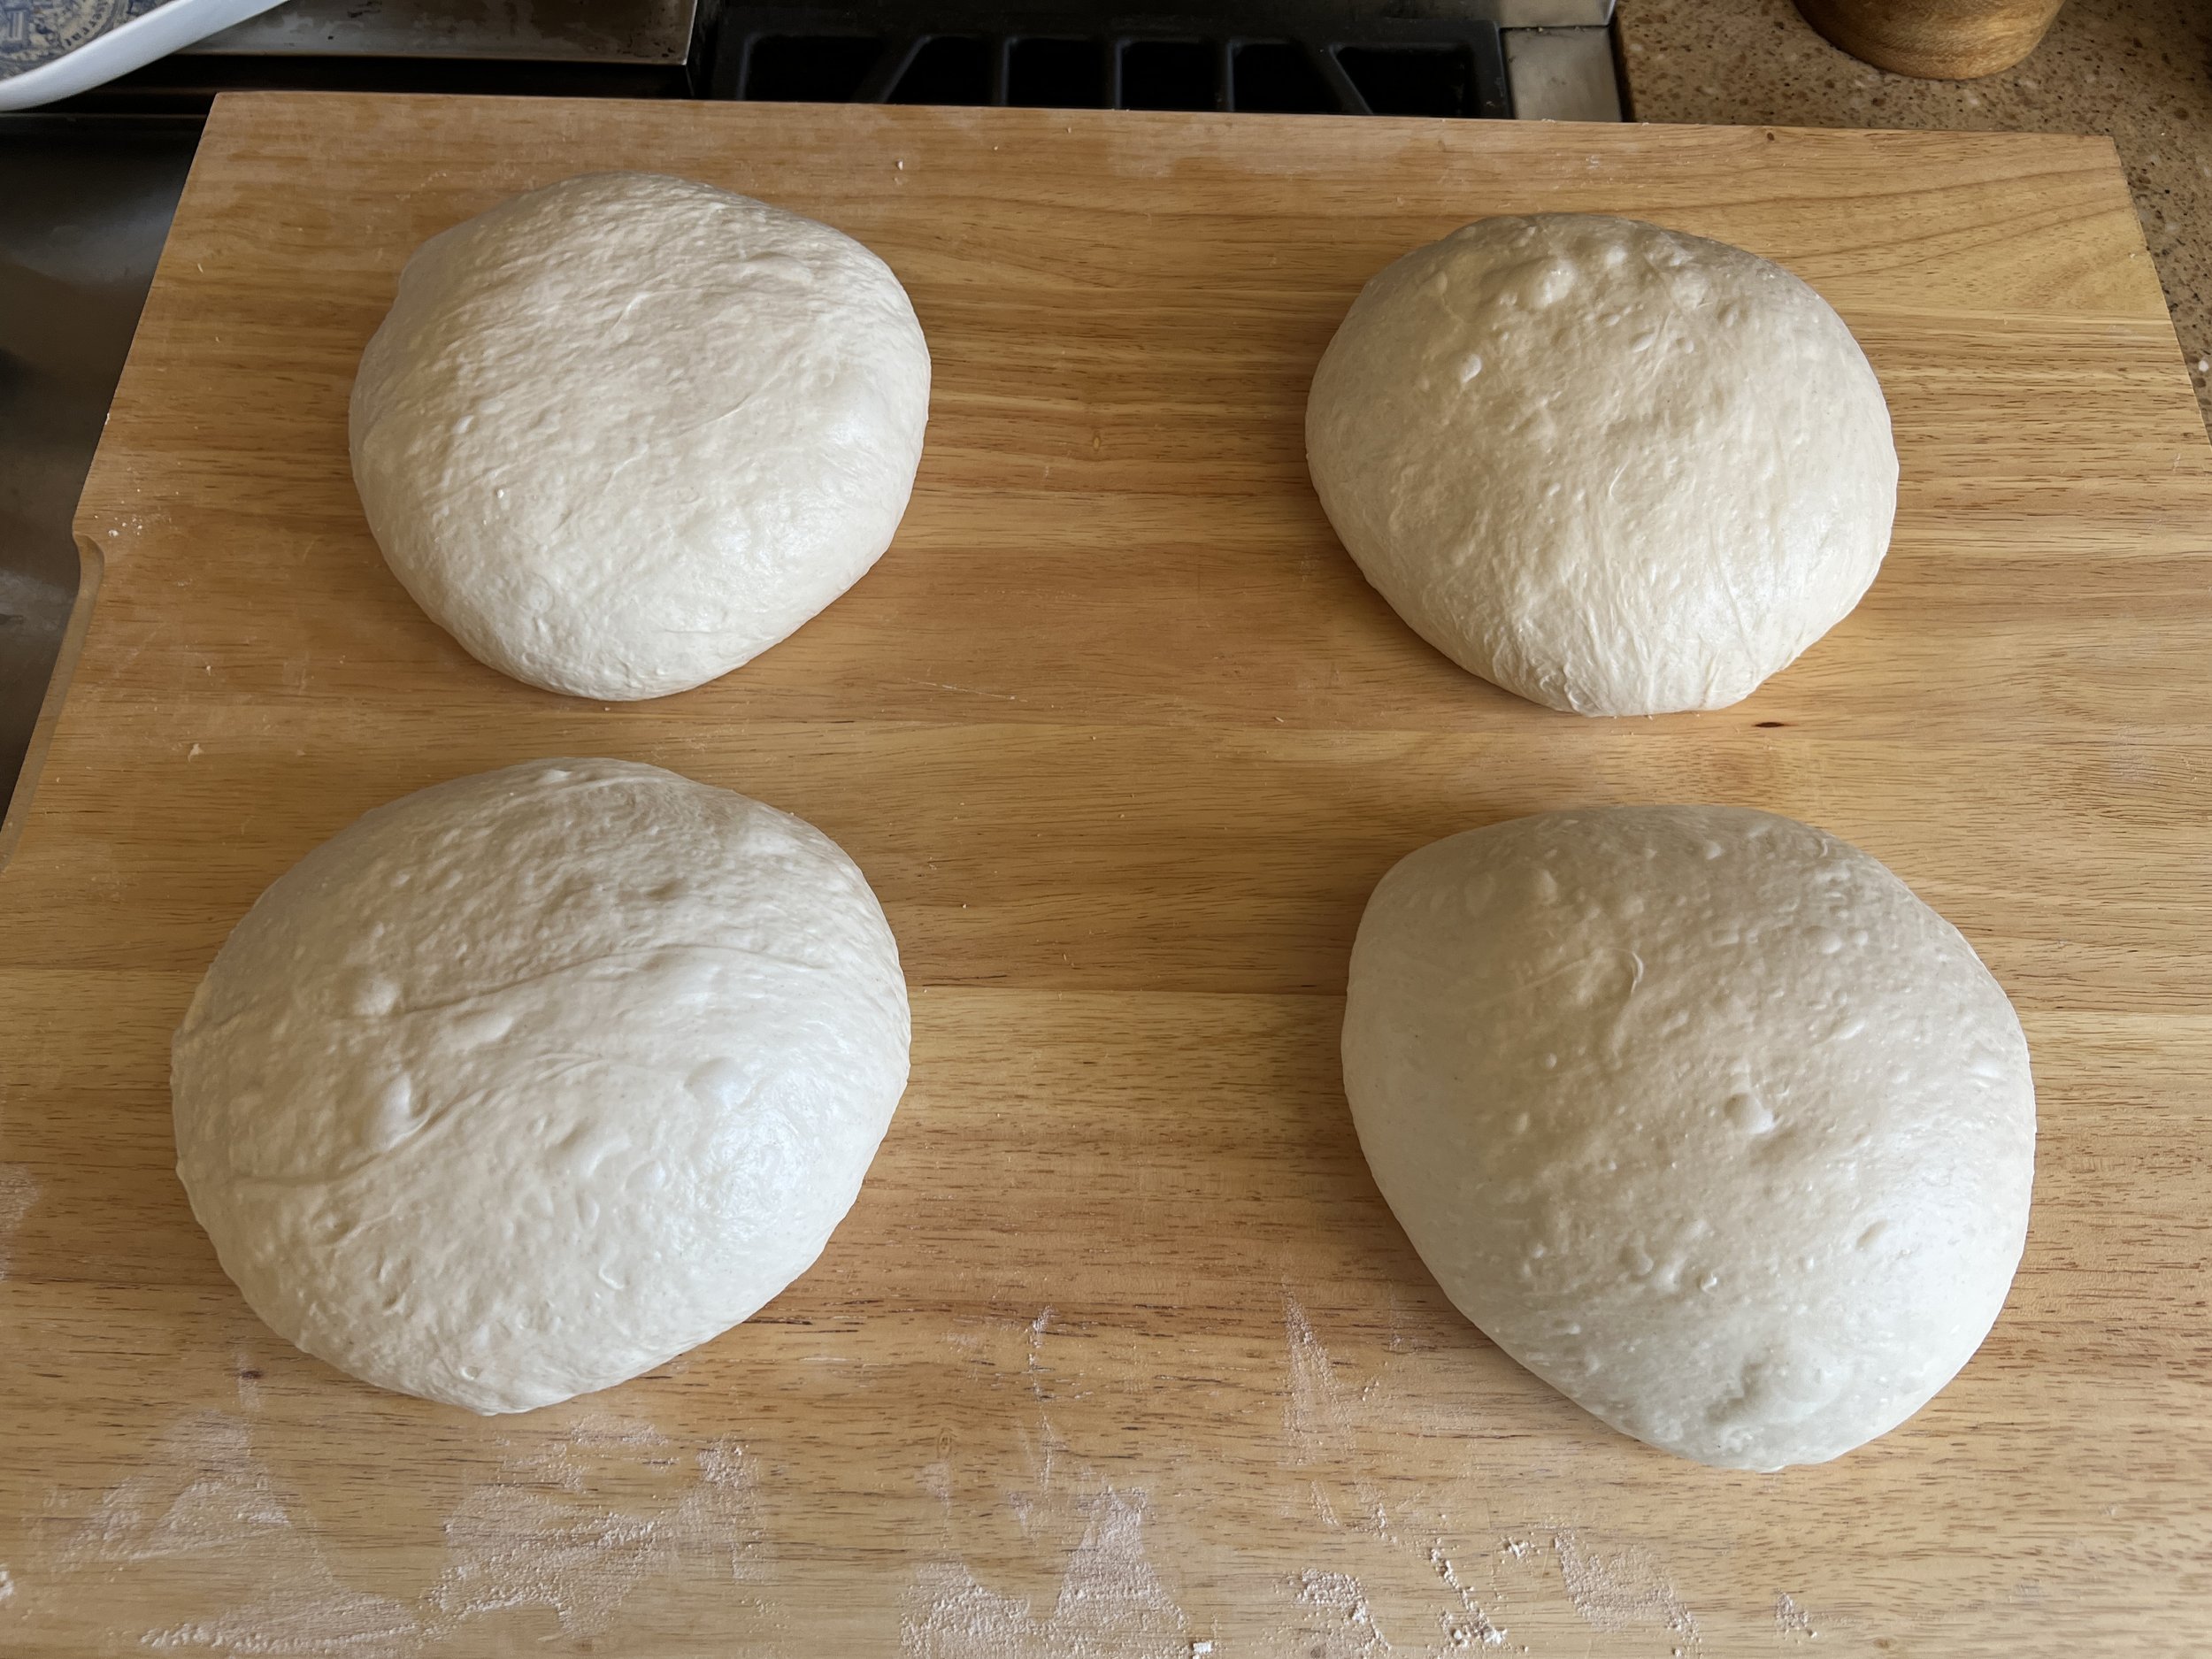
Dough divided and preshaped into loose rounds, resting before final shaping.
Final Shaping and Banneton Prep
While my preshaped dough is resting, I flour my bannetons generously with rice flour to prevent sticking.
After shaping the dough tightly (into either boules or battards), I place it seam-side up into the bannetons, cover them, and move straight into the fridge for the final proof.
Shaped sourdough loaves resting in floured bannetons before the cold ferment.
Cold Fermentation
I cold ferment my loaves for a minimum of 8 hours, usually overnight.
Cold fermentation improves flavor, makes scoring easier, and gives me more control over timing. This step does a lot of the heavy lifting for both structure and taste.
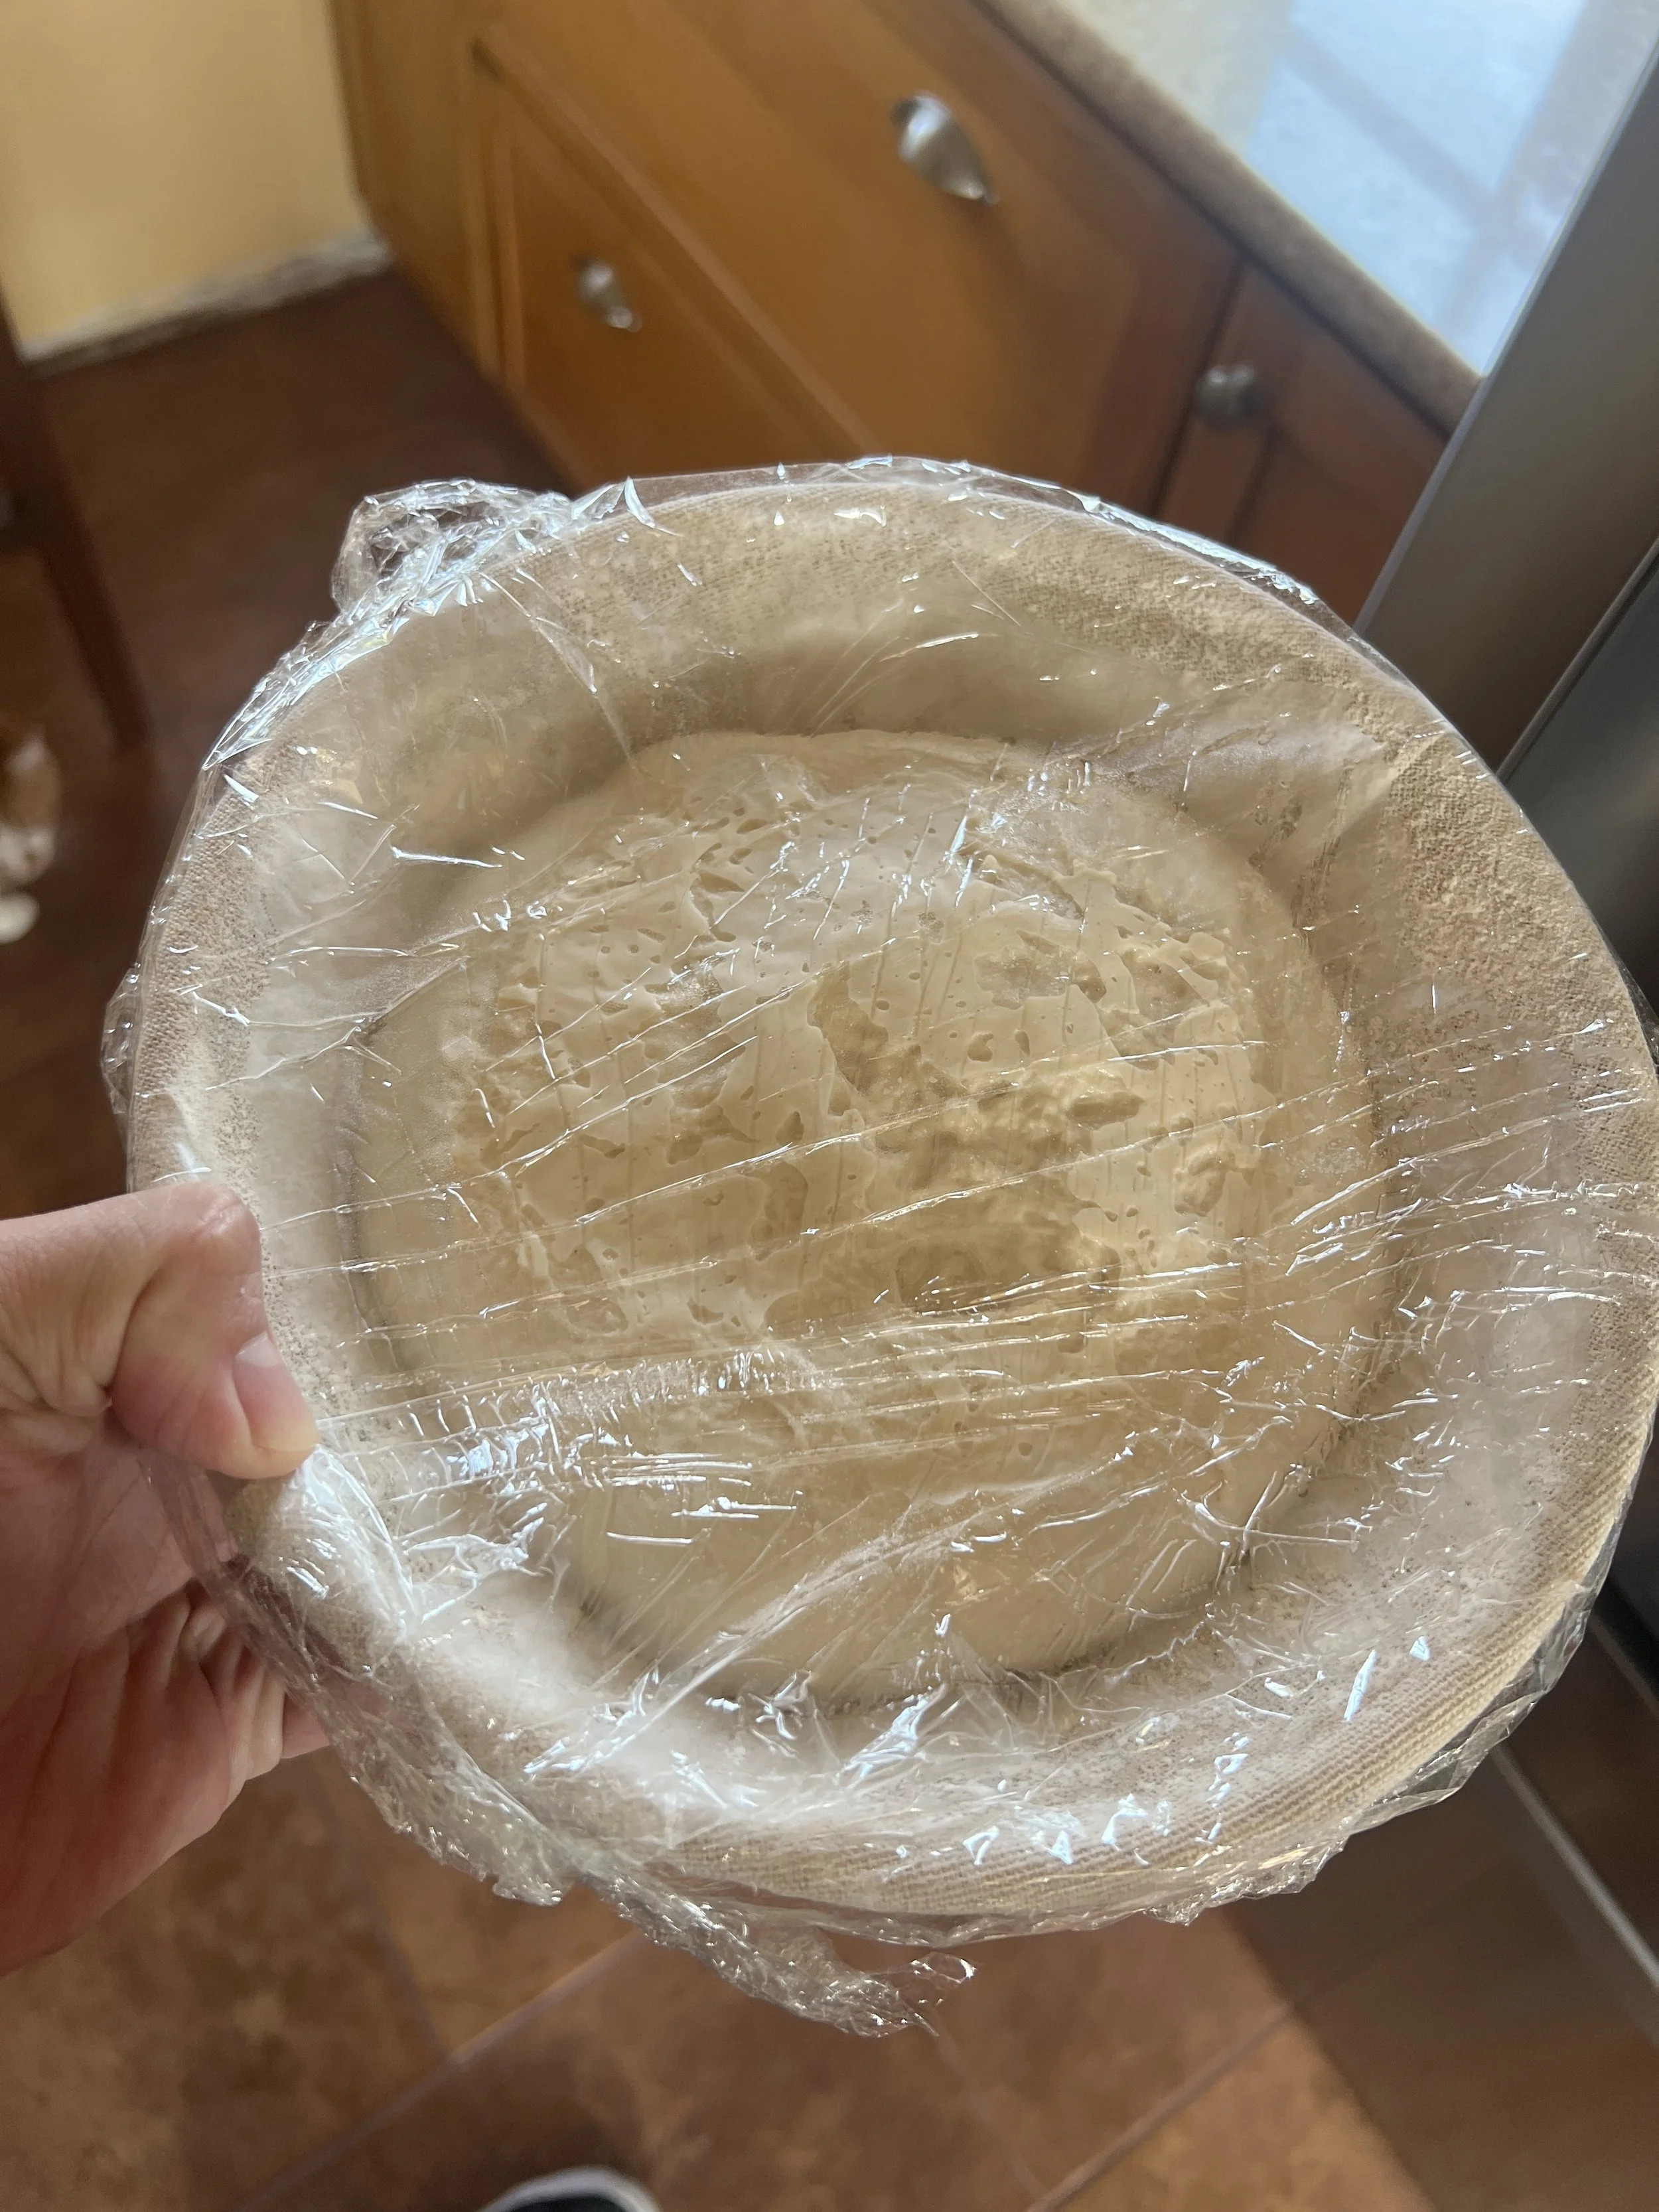
Shaped sourdough resting in a floured banneton during the overnight cold ferment.
Scoring the Dough
I always bake my sourdough straight from the fridge.
Cold dough is easier to handle, easier to score, and holds its shape better in the oven.
When I’m ready to bake:
I place a silicone liner (or parchment paper, if that’s what you have) on the counter
Lightly dust it with rice flour
Flip the dough directly from the banneton onto the liner
Once the dough is out, I lightly pat a bit of rice flour over the surface. This prevents dragging and gives a clean surface for scoring.
From there, I get creative. Sometimes it’s a classic expansion score. A single clean slash is more than enough if you’re just starting out.
Other times it’s more decorative. It’s surprisingly easy to do a long vertical score along the loaf, with smaller horizontal scores along the sides - think like a stem with leaves running alongside it. Looks super classy after baking!
Cold dough gives you more control, so it’s a great time to experiment without stressing about perfection.
After scoring, the dough goes straight into the hot Dutch oven.
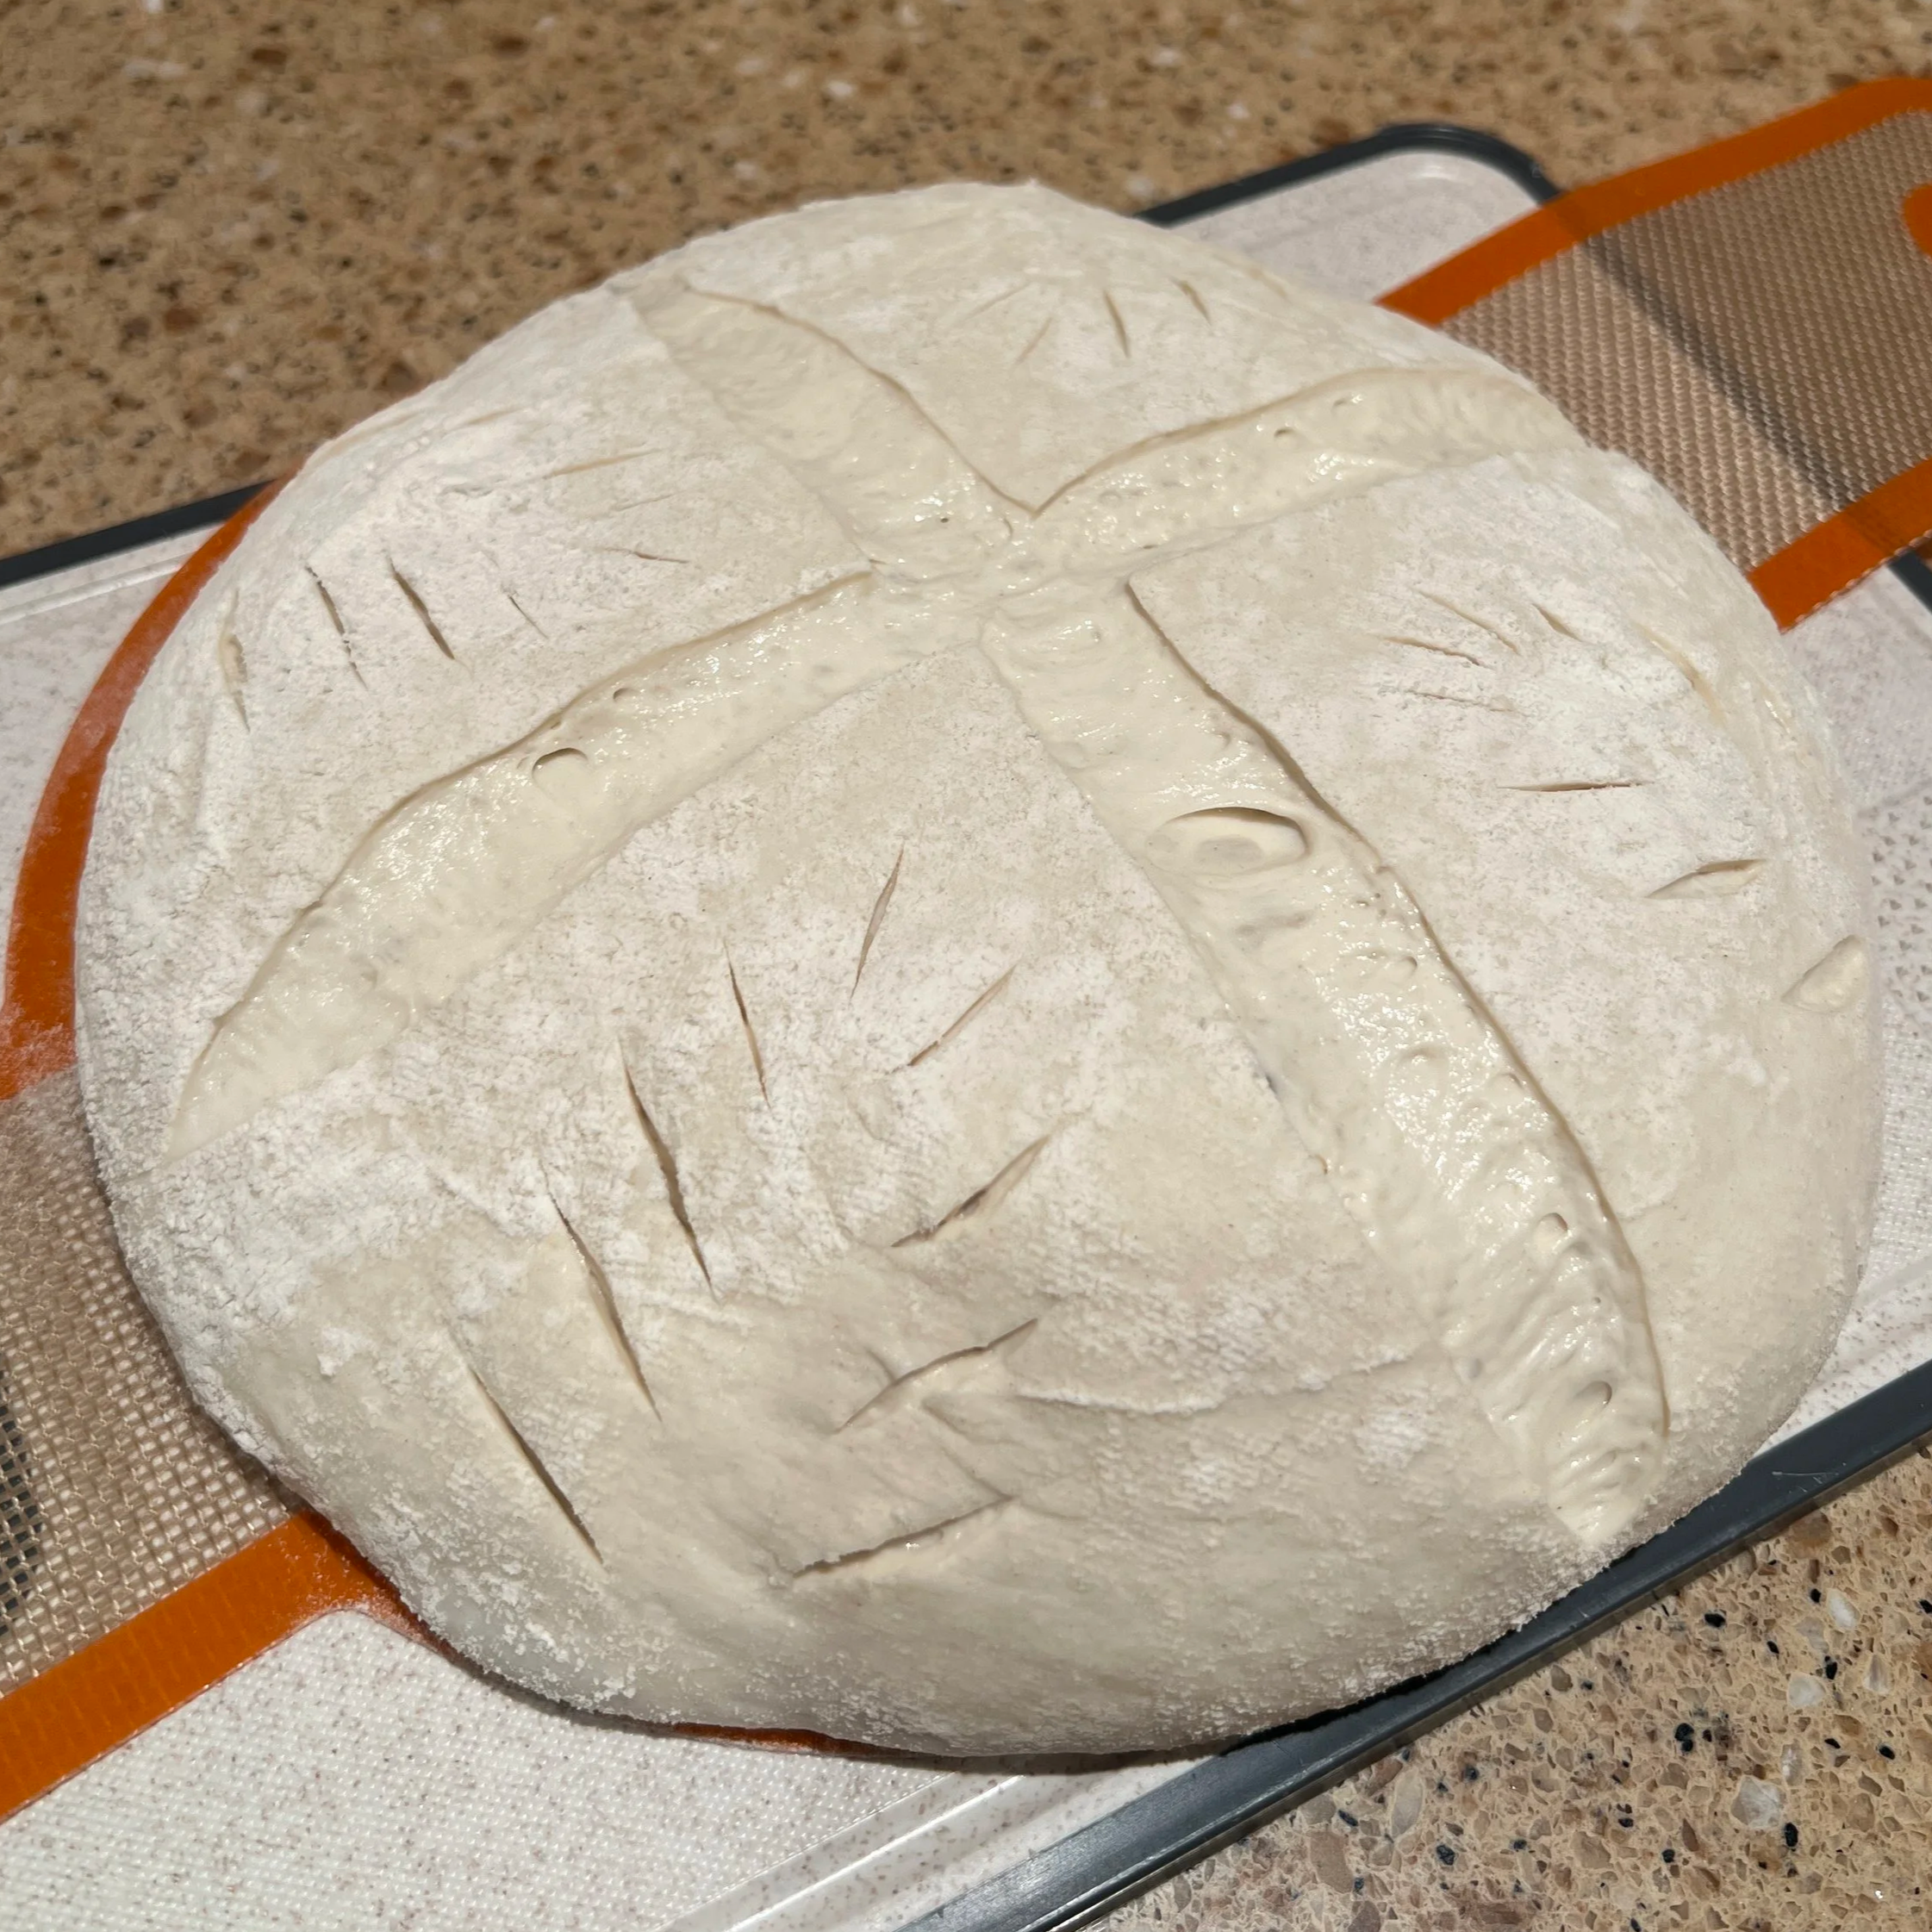
My attempts at doing a cute scoring pattern on my loaf.
Baking the Loaves
I preheat my oven to 500°F (260°C) with my Dutch ovens inside for a full hour. You want your Dutch oven to be searing hot when you put your dough in there.
Some folks use a baking steel to cook their loaves. I haven’t personally tried this method yet, but I did just have a steel deliver recently - so I will need to do a comparison post between the Dutch oven and steel methods at some point!
Once preheated:
Bake your loaves for 20 minutes covered
Remove the lid, reduce heat to about 450°F (230°C)
Bake another 20 minutes uncovered
I aim for a deeply golden crust and an internal temperature of about 200°F (93°C). Bread should sound hollow when you tap the bottom of it.
Note again - if you add honey, the dough will get golden much faster, due to the added sugar content. Keep an eye on your bread and tent with some foil if necessary, to avoid scorching your bread.
In general, every oven runs a little differently, so trust your eyes over exact temperatures.
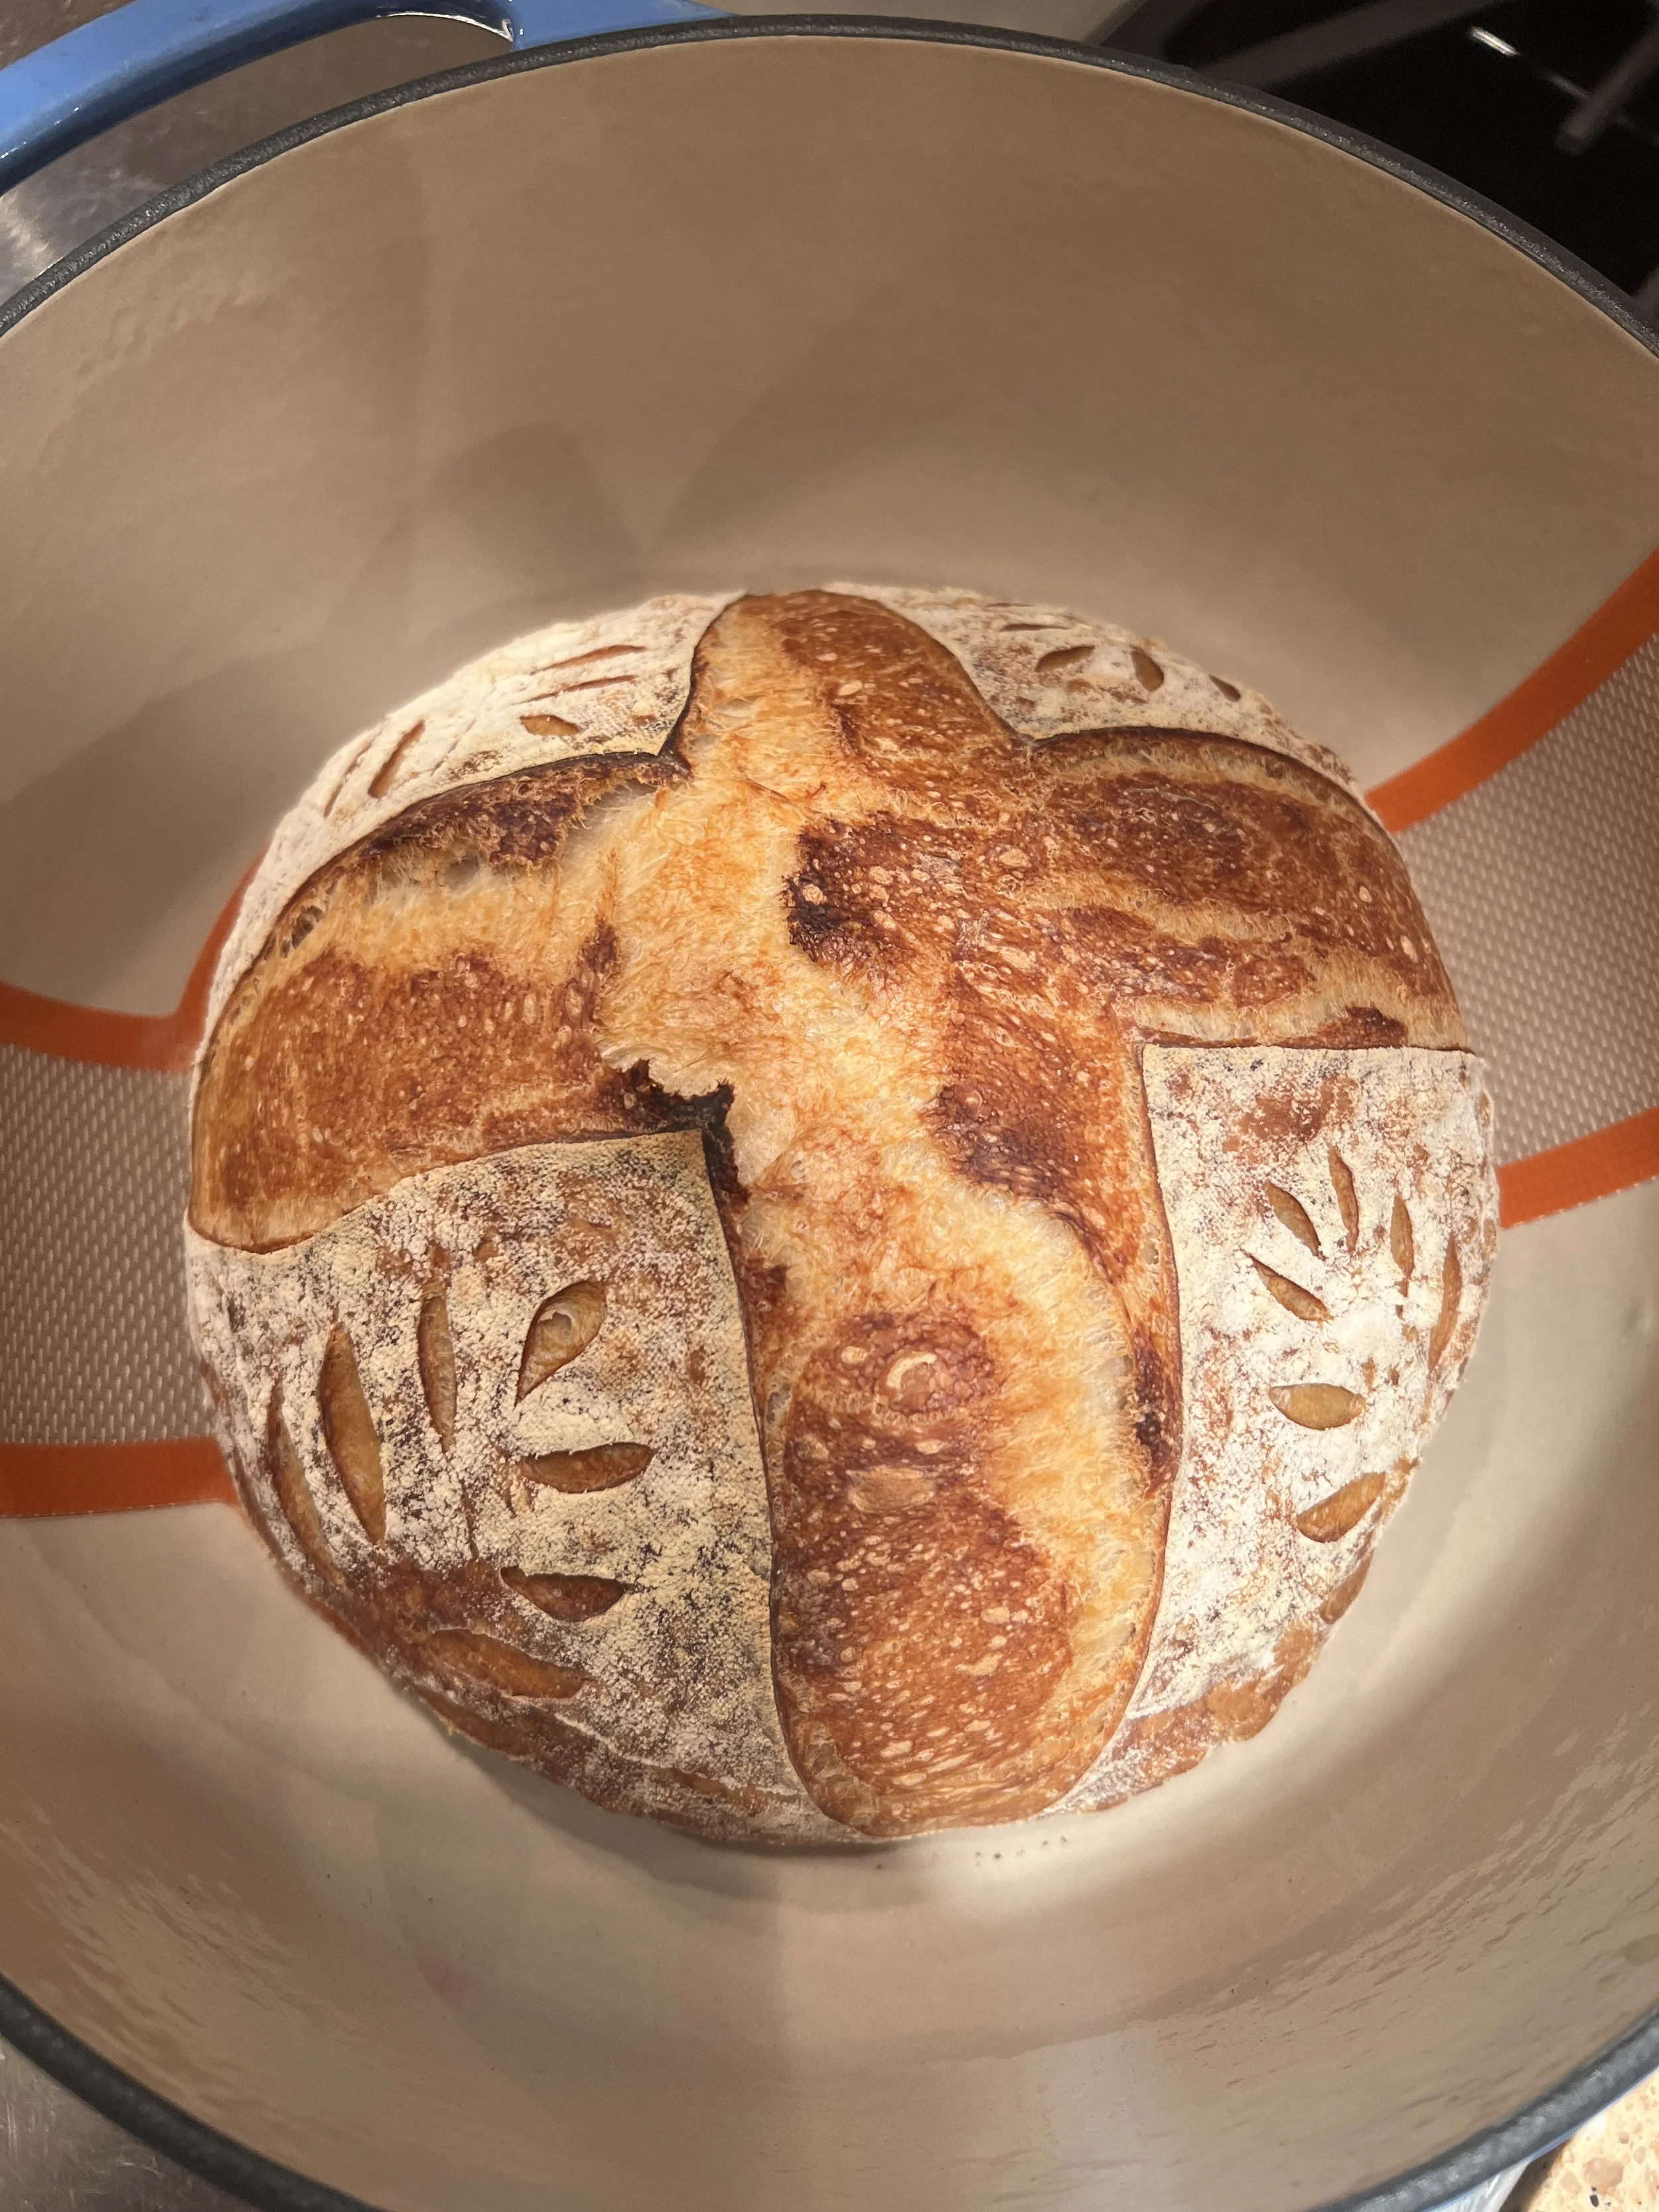
The moment it all comes together — crisp crust, good color, and solid oven spring.
Cooling
Carefully remove the liner or parchment from the Dutch oven and transfer the loaf to a cooling rack.
As tempting as it is, I let the bread cool for 4–6 hours before slicing — or at the very least, until the internal temperature drops to around 90°F (32°C).
This gives the crumb time to fully set and keeps the inside from turning gummy. It’s worth the wait. What’s another few hours at this point?
Letting the loaf cool and do its thing before cutting into it.
Reheating Sourdough
To refresh a loaf:
Lightly spray the crust with water
Bake at 350°F (175°C) for 10–15 minutes
Rest for about 5 minutes, then slice
Serve warm with butter or jam.
Final Thoughts
This method has become my sourdough baseline. Once you understand how the dough should feel at each stage, you can start adapting it to your own kitchen, schedule, and flavor preferences.
Sourdough doesn’t have to be rigid to be good. A solid process and a little patience go a long way!
I will keep experimenting and will update the website with recipes as I test different mix-ins and methods. If you give this a try, I’d love to hear how it goes!
Hopefully this post is helpful in getting you to take the jump into the sourdough world. Happy holidays!!

The sourdough life has claimed me. But look how cute these are, how can you NOT get obsessed??